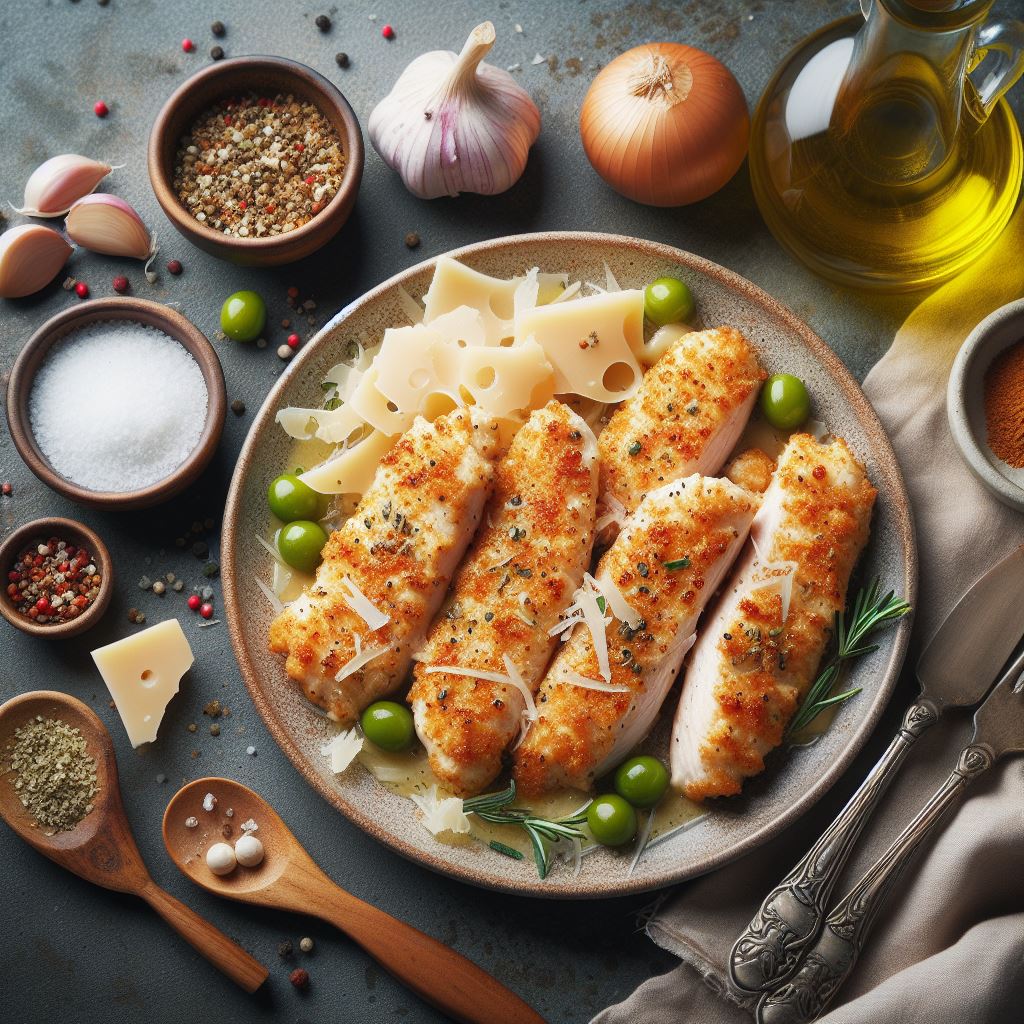
We’re gonna need some chicken tenderloins, garlic powder, onion powder, salt, pepper, and olive oil. And if we’re feeling cheesy, let’s not forget the parmesan cheese.

Seasoning the Chicken:
I grab my garlic powder and sprinkle it over the chicken, making sure each piece gets a nice coating. Then I add some onion powder for extra flavor, a pinch of salt to enhance the taste, and a dash of pepper for a little kick.
I make sure to evenly coat each tenderloin with the spices because building those layers of flavor is key. After that, I drizzle them with olive oil to help them cook up crispy. If I’m feeling fancy, I’ll press some parmesan cheese onto each piece for a cheesy crust.
Cooking the Chicken:
The oven is preheated and ready to go. I’ve lined my baking tray with parchment paper to prevent sticking and neatly arranged the seasoned chicken tenders on top. I slide the tray into the oven and set at medium-high heat. The heat surrounds the chicken, and I can almost hear them sizzling as they start to cook.
I set my kitchen timer for 15 minutes – it’s crucial to make sure the chicken cooks evenly without drying out. As the timer counts down, I use this time to clean up my prep area or maybe throw together a quick salad to go with the tenders.
When the timer goes off, I’m back at the oven with my oven mitts on, ready to flip each tenderloin over. This makes sure that both sides get that deliciously crispy golden-brown crust we’re aiming for. Another 15 minutes pass, and I’m checking the chicken to see if it’s done. The tenders should feel firm when touched, and when you cut into them, the juices should run clear sign they’re ready to be eaten.
If you’re using an air fryer, you’ll want to cook the tenders at medium-high heat for about 15 minutes as well, flipping them halfway through. The air fryer works its magic by circulating hot air around the tenders, giving them an irresistible crunch.
Nutritional Value:
These tenderloins are not only delicious but also good for your waistline. Each one is packed with lean protein, which is essential for building and repairing muscles. They’re low in fat because we use skinless breasts and bake them instead of frying, so they’re a healthy option.
I often make these on busy weeknights when I don’t have much time to cook, but still want a nutritious and satisfying meal. The kids love them after their sports practice, and they’re great for a light yet fulfilling dinner that won’t leave me feeling sluggish.
The beauty of this dish is how simple it is and the fact that you can customize it however you like. You can serve it with some steamed veggies or a fresh salad, and you’ve got yourself a healthy meal full of flavor.
In my experience, this dish has become a favorite for many people. It shows how simple ingredients can come together to make something really special. It’s not just about filling your stomach; it’s about creating an experience that nourishes the soul.
Related Dish:
Baked Chicken Tenderloin: Marinate the tenderloins in your favorite herbs and spices, then bake them until they’re juicy and tender.
Air Fryer Chicken Tenders: For a healthier option, try cooking your chicken tenders in an air fryer. They’ll be just as crispy as if they were fried but with less oil.
Parmesan-Crusted Chicken: Coat your chicken in a mixture of parmesan cheese and breadcrumbs for a deliciously crispy exterior.
How long to broil chicken tenders?
When I cook chicken tenders under the broiler, I make sure to keep a close watch on them so they come out perfectly cooked. Here’s my step-by-step process:
- Preheat the broiler on high and place the oven rack about 4 inches from the heat source.
- Season the chicken tenders with my favorite spices . I usually go for a simple mix of salt, pepper, and a touch of garlic powder.
- Arrange the chicken on the broiler pan, making sure they are evenly spaced out.
- Broil the chicken tenders for around 4 to 5 minutes on one side until they start to get a nice golden-brown color.
- Flip the chicken over and continue to broil for another 3 to 4 minutes on the other side, aiming for that same golden-brown color while ensuring they’re fully cooked through.
I always make sure the chicken tenders are no longer pink inside and have reached an internal temperature of 165°F. This usually takes about 7 to 9 minutes in total, depending on their size and thickness. And there you go, beautifully broiled chicken tenders ready to be enjoyed!
Great! You’re all ready to make this tasty dish by yourself. Just remember, cooking is an art and a skill that gets better with practice. Feel free to put your spin on the recipes and make each dish unique. Enjoy cooking, and I’m sure you’ll whip up some awesome chicken tenders!