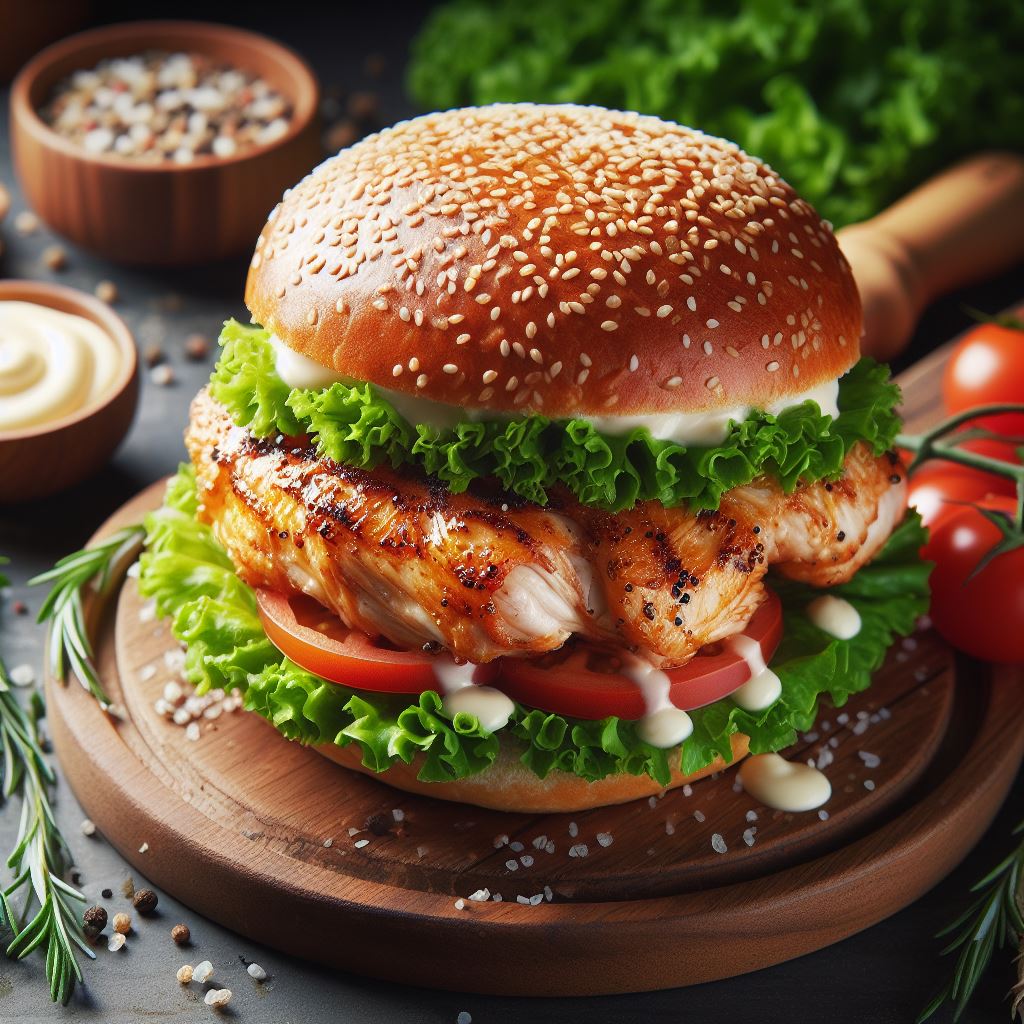
The Burger King grilled chicken sandwich is one of my go-to choices, and it’s a mouthful of delicious meat that hits the spot, with a rich gravy that just keeps on giving. Today, let’s learn how to make this amazing Burger King grilled chicken sandwich. Are you ready to give it a try?

Marinating the Chicken
Mix the Marinade:
I mix all the marinade ingredients in a big bowl – soy sauce, lime juice, olive oil, brown sugar, and Dijon mustard. I mix it well so that all the flavors can get to know each other.
Bathing the Chicken:
Then I put those chicken thighs in the bowl, ensuring they’re completely covered in that tasty marinade. It’s like they’re taking a delicious dip in a pool of flavor.
Chill Time:
I cover the bowl with some cling wrap and stick it in the fridge. Now, they gotta chill there for about 24 hours. This long chill time lets the chicken soak up all those tasty flavors, right down to the bone.
Room Temperature Rest:
Before I start cooking, I take the bowl out of the fridge and let it sit until the chicken reaches room temperature. This helps ensure the chicken cooks evenly when I put it on the grill.
Grilling Chicken Thighs
Preheat the Grill:
I always make sure my grill is nice and hot, ready to go. I’m aiming for that medium-high heat, which is about 400 degrees. If you’re using an oven, you’d set it to the same temperature.
Grill Placement:
With the grill all heated up, I put the chicken thighs skin side down. It’s important because we want that skin to get crispy.
Cooking Time:
I set a timer to make sure the chicken doesn’t cook for too long, usually around 20-25 minutes. Halfway through, I flip them over to get both sides nice and golden brown.
Checking Doneness:
I always use a meat thermometer to make sure the chicken is cooked just right. It should reach an internal temperature of 165°F. That’s when you know it’s perfectly cooked — safe to eat and still juicy.
Resting:
After taking the chicken off the grill, I let it sit for a few minutes. This helps the juices spread out evenly, so every bite is juicy and tasty.
Assembling the Sandwich
Toast the Bun:
I grab that sesame seed bun and throw it in the toaster or on the grill for a quick minute. Just enough to warm it up and give it a little toastiness.
Lettuce Layer:
I like to add some crispy lettuce to the bottom half of the bun for that fresh crunch and a pop of green goodness.
Chicken Time:
Now, I grab that juicy, grilled chicken thigh and plop it right on top of the lettuce. It’s still warm from the grill, and it smells amazing.
Mayo and Extras:
I put some mayo on the top half of the bun. If you want, you can throw in a slice of tomato or some pickles here. It’s your sandwich, after all!
Sandwich Assembly:
I put the two bun halves together and ta-da! You’ve got yourself a tasty grilled chicken sandwich, all ready to dig into.
Swing plate:
Cutting the Sandwich:
After I put the sandwich together, I like to cut it diagonally down the middle. It not only makes it look better but also makes it easier to hold and eat.
Choosing the Sides:
A classic side for the sandwich would be some crispy fries, but if I’m in the mood for something lighter, I’ll go with a side salad. It’s all about finding that balance.
Plating:
I put the sandwich on a clean plate, with the cut side facing up so you can see all the layers. Then, I neatly arrange the fries or salad on the side.
Garnish:
Sometimes I throw in a little garnish, like a sprig of parsley, just to give it that extra pop of color and freshness.
Serving Immediately:
It’s best to serve the sandwich right away while it’s still warm and the lettuce is nice and crisp. That’s when it tastes the absolute best.
Tips:
Marinade Mastery:
The marinade isn’t just for flavor; it also helps to make the chicken tender. Make sure to cover every inch of those thighs with the marinade. And remember, patience is key — letting it sit in the fridge for a full 24 hours will make a difference.
Grill Vigilance:
Keep an eye on the grill and make sure those thighs get golden and crispy, not burnt. Flip them halfway through and check the internal temperature. Remember, 165°F is what you’re aiming for.
Resting Ritual:
After grilling, let your chicken rest for a bit. This helps the juices spread out evenly, making sure every bite is juicy.
Related Dishes:
Honey Mustard Grilled Chicken: A deliciously sweet and tangy take on the traditional grilled chicken.
Buffalo Chicken Wrap: This dish is spicy and hits the spot for those who enjoy a bit of heat.
Chicken Caesar Salad: A lighter option that’s still full of flavor.